The makings of mural, (1)~(18), from [ workshop diary ].
 |  |
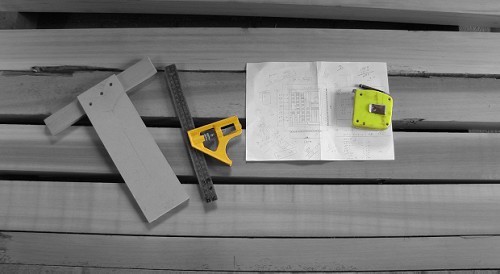
Exterior Project (1) | |
 |  |
↓scroll down 16/8/2007 | |
 |
Exterior Project (2) |
↓scroll down 22/8/2007 |
 |
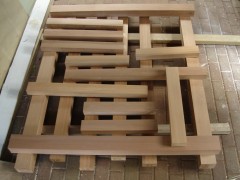
Exterior Project (3) |
↓scroll down 27/8/2007 |
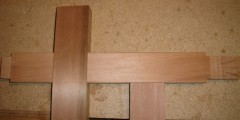
 | Exterior project (4) |
↓scroll down 9/9/2007 | |
 |  |
 | 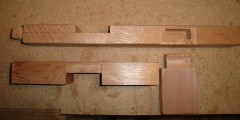 |
Exterior project (5) Joinery Study | |
↓scroll down 13/9/2007 | |
 |
Exterior project (6) |
↓scroll down 15/9/2007 |
|
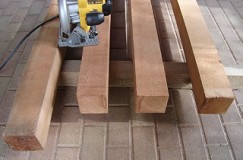
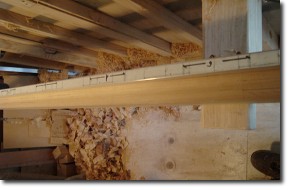
Exterior project (7) Marking and Cutting 17/9/2007 |
 |
You can get a fairly crisp joint with simple jigs and a router. |
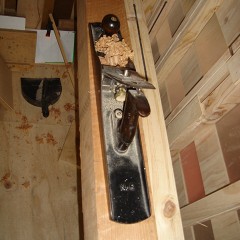
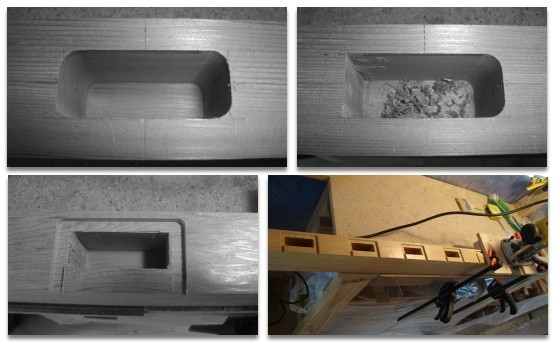
Exterior project (8) Routing mortise 20/9/2007 |
 |
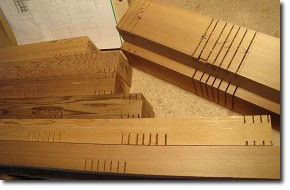
Exterior project (9) work in progress 2/10/2007 |
 |
Exterior project (10) work in progress 9/10/2007 |
 |
Exterior project (11) walnut pin 12/10/2007 |
 |
Exterior project (12) test assembly 15/10/2007 |
 |
Exterior project (13) 20/10/2007 |
 |
Exterior project (14) 24/10/2007 |
 |
This shape is purely functional rather than ornamental. |
Exterior project (15) 25/10/2007 |
 Exterior project (16)           |
Exterior project (17) 7/11/2007 I left the piece in a sun-room, above my workshop, about a week for further drying. I checked any shrinkage on wedged-through-tenons and lightly tapped the wedges again to tighten the joints. After tightening up all the joints, I cut off the excess wedges and started preparing for staining.    I chose Sikkens Cetol HLS and Filter7 as a finish for this piece. The instructions recommended degreasing all timber prior to coating using Sikkens oplosser, but I was having difficulty finding this particular product locally. Then the Sikkens distributor helpfully advised me that white-spirit can be used instead of Sikkens oplosser. So I wiped all surfaces of the piece with white-spirit.  The long drying time of the stain gave me plenty of time to correct my brush work. With the combination of the colour of the stain (light oak), and the reddish hue of western red cedar, the piece's appearance became more like cherry.  |
 |
[Top Right Photo] After 1 coat of HLS and 2 coats of Filter 7, the piece has a considerably richer colour. |
Exterior project (18) Completion 21/11/2007 |